Growing Cover Crops in the Home Garden
The tail end of the growing season, when you’re putting your garden to bed for the offseason, is a perfect time to start a cover crop. And it’s pretty much as easy as sprinkling some seeds around and walking away. The cover crop will do the rest, protecting your soil all winter long.
Why Cover Crops? (Why Not Just Mulch?)
Cover crops provide a greater array of advantages. Heavily mulching the soil over the offseason is very beneficial, but not only do cover crops protect your soil against compaction, erosion, moisture loss, temperature extremes, and the invasion of weeds like mulch does, but they also have several additional benefits. They are a living mulch that, among other things, actively captures nutrients that would otherwise leach away and, especially in the case of legumes, builds even more nutrients; naturally loosens your soil through their root growth; increases water-holding capacity; forms symbiotic relationships with microbes in the soil that dramatically increases soil structure, tilth, carbon content, and fertility; and if let grow a little in the spring, provides you with home-grown mulch for other areas and a large volume of home-grown organic matter for your compost piles.


Growing cover crops is easy and does wonders for your garden soil over the long term. But how do you grow them? What are some good cover crops to grow? And are there any tips or tricks to ensure they’re a little more successful than just sprinkling some seeds around and walking away?
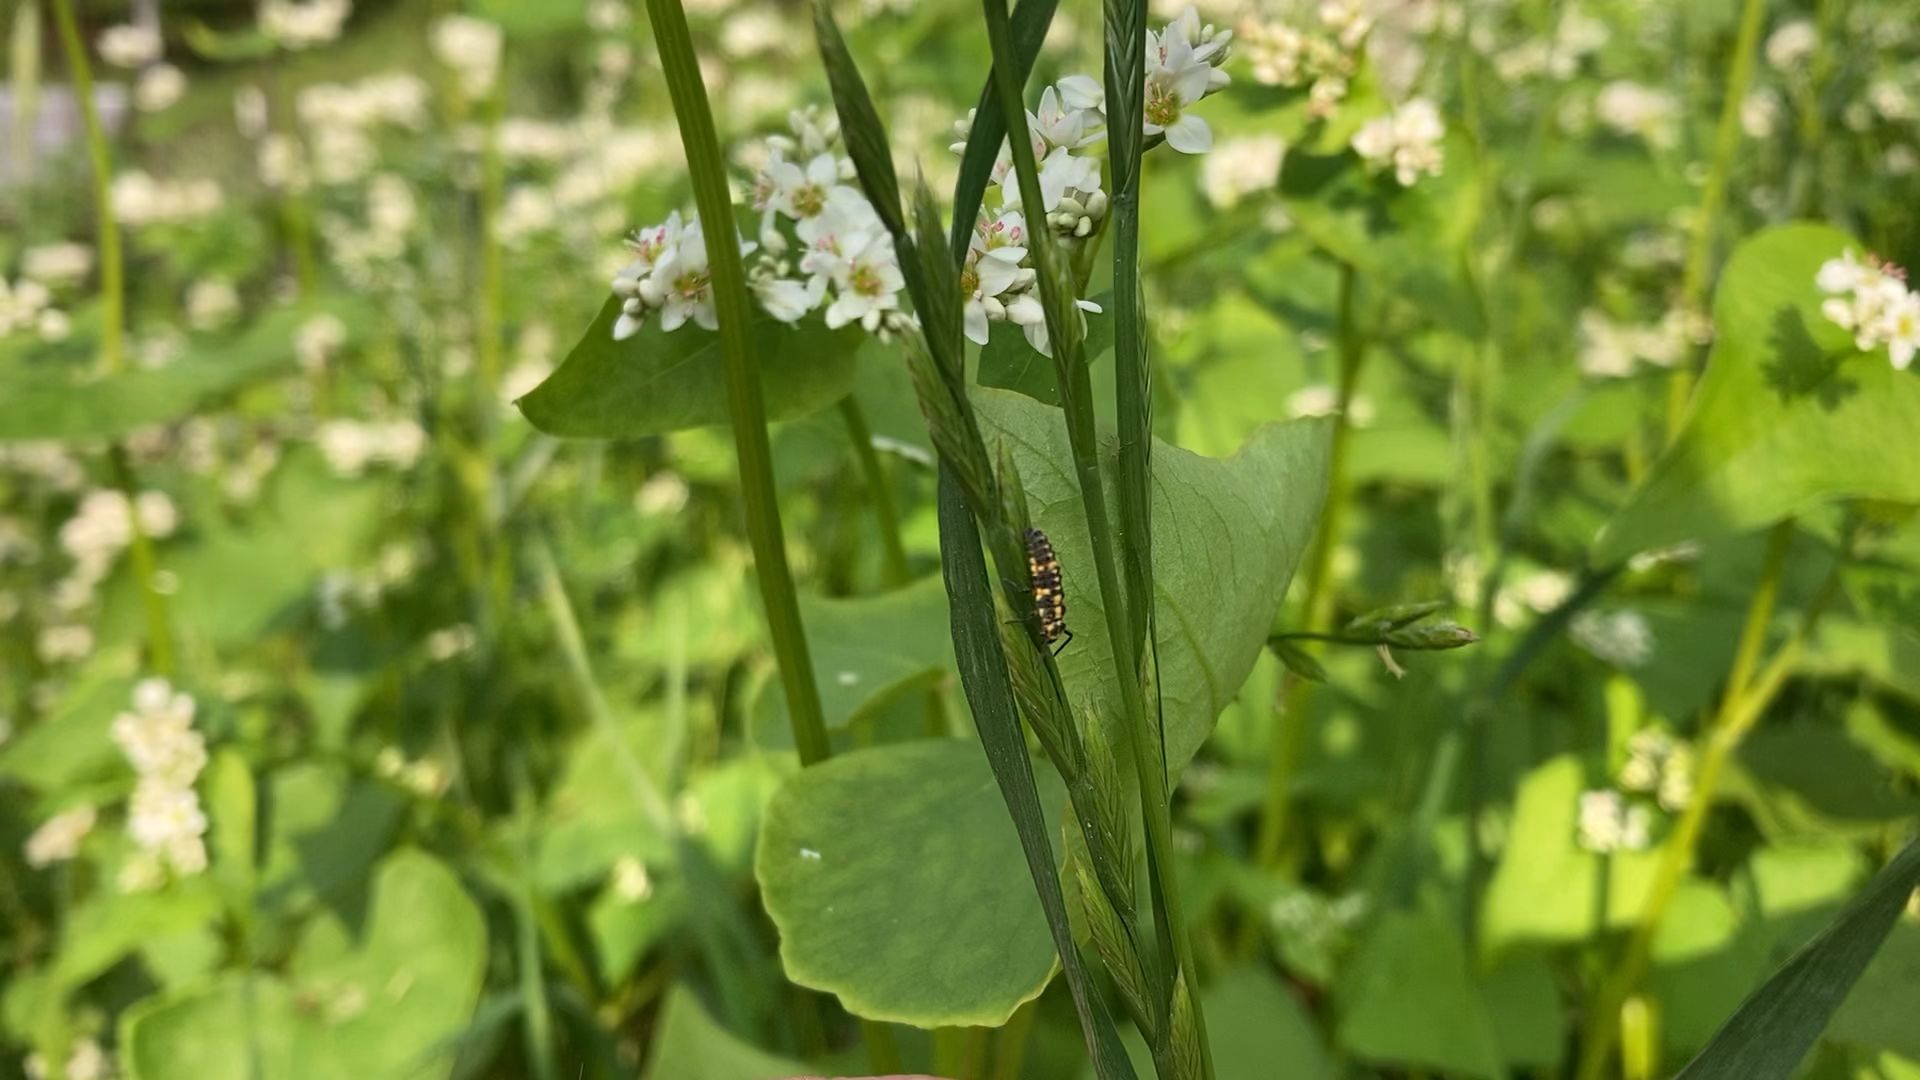
Choose a Cover Crop
Your first step is choosing which cover crop or crops to use. There are so many options and mixes that choosing which one or ones is often the hardest part of the process and deserving of a separate video, but, like all of cover cropping, it’s still pretty easy.
To really simplify it, especially if you’re just starting out, choose a grass like winter rye, wheat, or annual ryegrass. Winter rye would be my number one choice if it works in your zone, just because it still germinates well in cooler temperatures and is the best at capturing nutrients (known by cover crop aficionados as nutrient scavenging). And add a legume—probably hairy vetch if it’s paired with winter rye, but many legumes grow well with grasses—and possibly even a third cover crop as well if that’s what best meets your needs.


But, again, choosing which cover crop or mix best meets your needs really deserves its own post.
Figure Out How Much You Need
Once you’ve chosen your cover crops, you can find their planting rates per 100 ft.2 or 1,000 ft.2—or 10 or 100 m2—in this table, which is much easier for home gardeners than the typical listings given for acres or hectares. (If you don’t already know it, you’ll obviously also need to measure your plot and figure out its area, but a rough measurement with a little extra added to each dimension will do fine.)
Mixes
If you’re planting a grass and legume mix, decrease the amount of grass seed by ⅓ and use ⅓ of the suggested legume amount. If you’re using a mix of three or more, use the fraction of each amount that each cover crop makes up of the whole, so for three cover crops, use ⅓ of the amount given for each; for four, use ¼ of the amount given for each; and so on.
For most home gardens, it ends up being a pretty small amount needed for each cover crop, sometimes ridiculously small. Our garden, for example, has more than 2,225 sq ft (205 sq m) of planting area, and we still often need less than a pound of some cover crops.

Once you know how much you need, you have several options for where to purchase your cover crop seeds, but one option stands out as the best, by far.
Purchase the Seed
You can purchase most cover crop seeds from local stores. Smaller, mom-and-pop stores that also sell farm and animal keeping products—like fencing, feed, and feeding and watering containers—or local feed mills are usually your best bet and typically have, by far, the best prices. And if, for any reason, they don’t have the specific seed that you need, ask, and they’ll likely order it for you and get it in a few days to a week.
You can also get cover crop seed from most mail-order and online garden retailers like Johnny’s or others, but their seed is usually more expensive per pound, even before adding in shipping costs, and usually can’t be purchased in the smaller, idiosyncratic quantities (like 3¼ lbs.) that you’ll typically need and are easy to get at your local mom-and-pop stores. Plus, it’s a great way to spend money at local businesses that actually meet this need much better than anyone else.


It might help to bring cash, however. Since their price per pound for the seed is pretty low and the amount of seed most home gardeners need is usually ridiculously small, your bill might come to only a few dollars, or even less. And I’m always embarrassed paying two dollars at a small, local business with a credit card, since my understanding is that, for smaller merchants like this, the cost to process small credit card transactions is a good chunk of what they’d otherwise make on the sale.
However you decide to get it, once you have your seed, it’s time to plant.
Broadcasting vs. Drilling
When larger areas like fields are planted to cover crops, the seed is drilled—that is, it’s planted into the ground with a planter—but home gardeners typically broadcast their seeds, usually by hand, at higher rates, since broadcasting means fewer seeds end up with the required seed-to-soil contact, and hence consistent soil moisture, needed for solid germination and successful early growth. All of the amounts given in the table mentioned above are the broadcasting rates for home gardeners.
However, even if using broadcasting rates, there are a few methods beyond just sprinkling the seed around and walking away that significantly increase your germination and early growth success.
Ready Your Planting Area
To create the most successful situation, first, clear the planting area so it’s reasonably bare soil to keep seeds from sitting on top of weeds, mulch, and plant debris above the soil. Then, rough up the soil with a bow rake.
Usually, this is enough. However, if your soil is particularly hard or compacted—which I’d roughly judge by if it isn’t loose enough to easily rake or stick a digging fork into the top two to four inches (or five to ten centimeters) of soil— till or use a digging fork or a spade to loosen the the top four to six inches (or 10-15 cm) of the soil. And smooth the surface with a bow rake.

Broadcast the Seed
Then just spread the seed.
This can be as simple as tossing it around the area in wide arcing throws with one pass. Getting it evenly spread in one pass, however, can be difficult and often results in a patchy overall result, with pronounced thin and dense areas.
To spread it more evenly, divide the seed into two to four roughly equal batches, and do a pass over the whole area using a different walking pattern with each batch—so if on the first pass you walk back and forth lengthwise, on the second pass walk back and forth width-wise or diagonally.

It also helps to plant different kinds of seeds, especially those that are of different sizes, in separate batches and passes. Otherwise, the larger seeds tend to rise and the smaller seeds fall in a natural sifting as the container gets shaken as you walk, and you end up with each more concentrated in certain areas of the garden.
Chop It In
Next, and this is probably the most optional of these optional steps, but one I’d still highly recommend if your area isn’t too large to make it feasible, “chop” the seed into the soil with a bow rake.
Short chopping motions that pull up a little soil really help the seed settle into the ground and even pull up a little bit of soil over the seed, significantly increasing seed-to-soil contact and, hence, the cover crops’ germination and success during the early stages of growth. Just keep your rake strokes short and mostly into the soil. Long sweeping strokes on top of the soil pull a little soil over the seeds, but also tend to clump seeds where the rake head stops, leading to a patchy cover crop with dense and sparse areas.
It can also help to increase seed to soil contact by walking over the area or, in beds with especially loose soil where a footstep would really sink in, using a digging board or the like to pat the soil down. I’ve found that, outside of my beds in the wider areas where I’d plant corn, cucurbits, or the like, if I work my way forward as I chop (so toward my rake), I automatically step on most of the soil I’ve already chopped.
Mulch Area
Next, mulch the area with straw—just like you would if planting grass seed, so with a thin covering that lets you see maybe from barely zero to about ¼-ish of the soil underneath—to help keep moisture around the seeds during their germination and the young plants while their roots are small.
Most straw you find nowadays is wheat straw and, for some reason, contains a fair number of its own seeds. However, since wheat is another great cover crop, this is one instance where the pesky sprouts that come from your mulch are actually an additional benefit.


Water Regularly
Finally, anytime the rain isn’t doing it for you, water regularly—just enough to make sure the top of the soil, and hence the seed, stays moist throughout germination and early growth. This is one instance where shallow waterings are fine. Continue watering like this until the cover crop is well established, so about six inches or 15 cm tall.
Then Let the Cover Crop Do the Work
That’s it. It’s really quite easy. Then you can just sit back and let the cover crop grow and do its amazing work all winter long, knowing your garden is protected and building fertility the entire time. This is why growing cover crops on what otherwise would be bare soil during the offseason is one of the best long-term actions you can take for your soil. Plus, just seeing your garden still green and full of life when it otherwise would be bare and devoid of it brings joy and an extra special peace of mind all winter long.
Other Related Questions
But this also leads us to the next big questions: What are the best ways to clear the garden of cover crops to get it ready for planting in the spring? And are there any cover crops that will die naturally over the winter, making getting the garden ready in the spring even easier? But if they die over the winter, are the cover crops still doing their job of protecting and building soil?


Those are all excellent questions, and I answer some in a previous post and will answer each of the others in upcoming posts.
Thanks for reading. Happy gardening, and until next time, I hope you always stay open to growing.

